
We are always on the lookout to add useful equipment to our gear kit, without adding bulk or unnecessary items. In this post we want to explore the idea of using a Garmin smartwatch for off-road motorcycle riding, review the list of features it offers and evaluate the usefulness of each of them.
Related: Check out our Comprehensive Guide on Off-Road Motorcycle Navigation where we cover all topics from planning to execution.
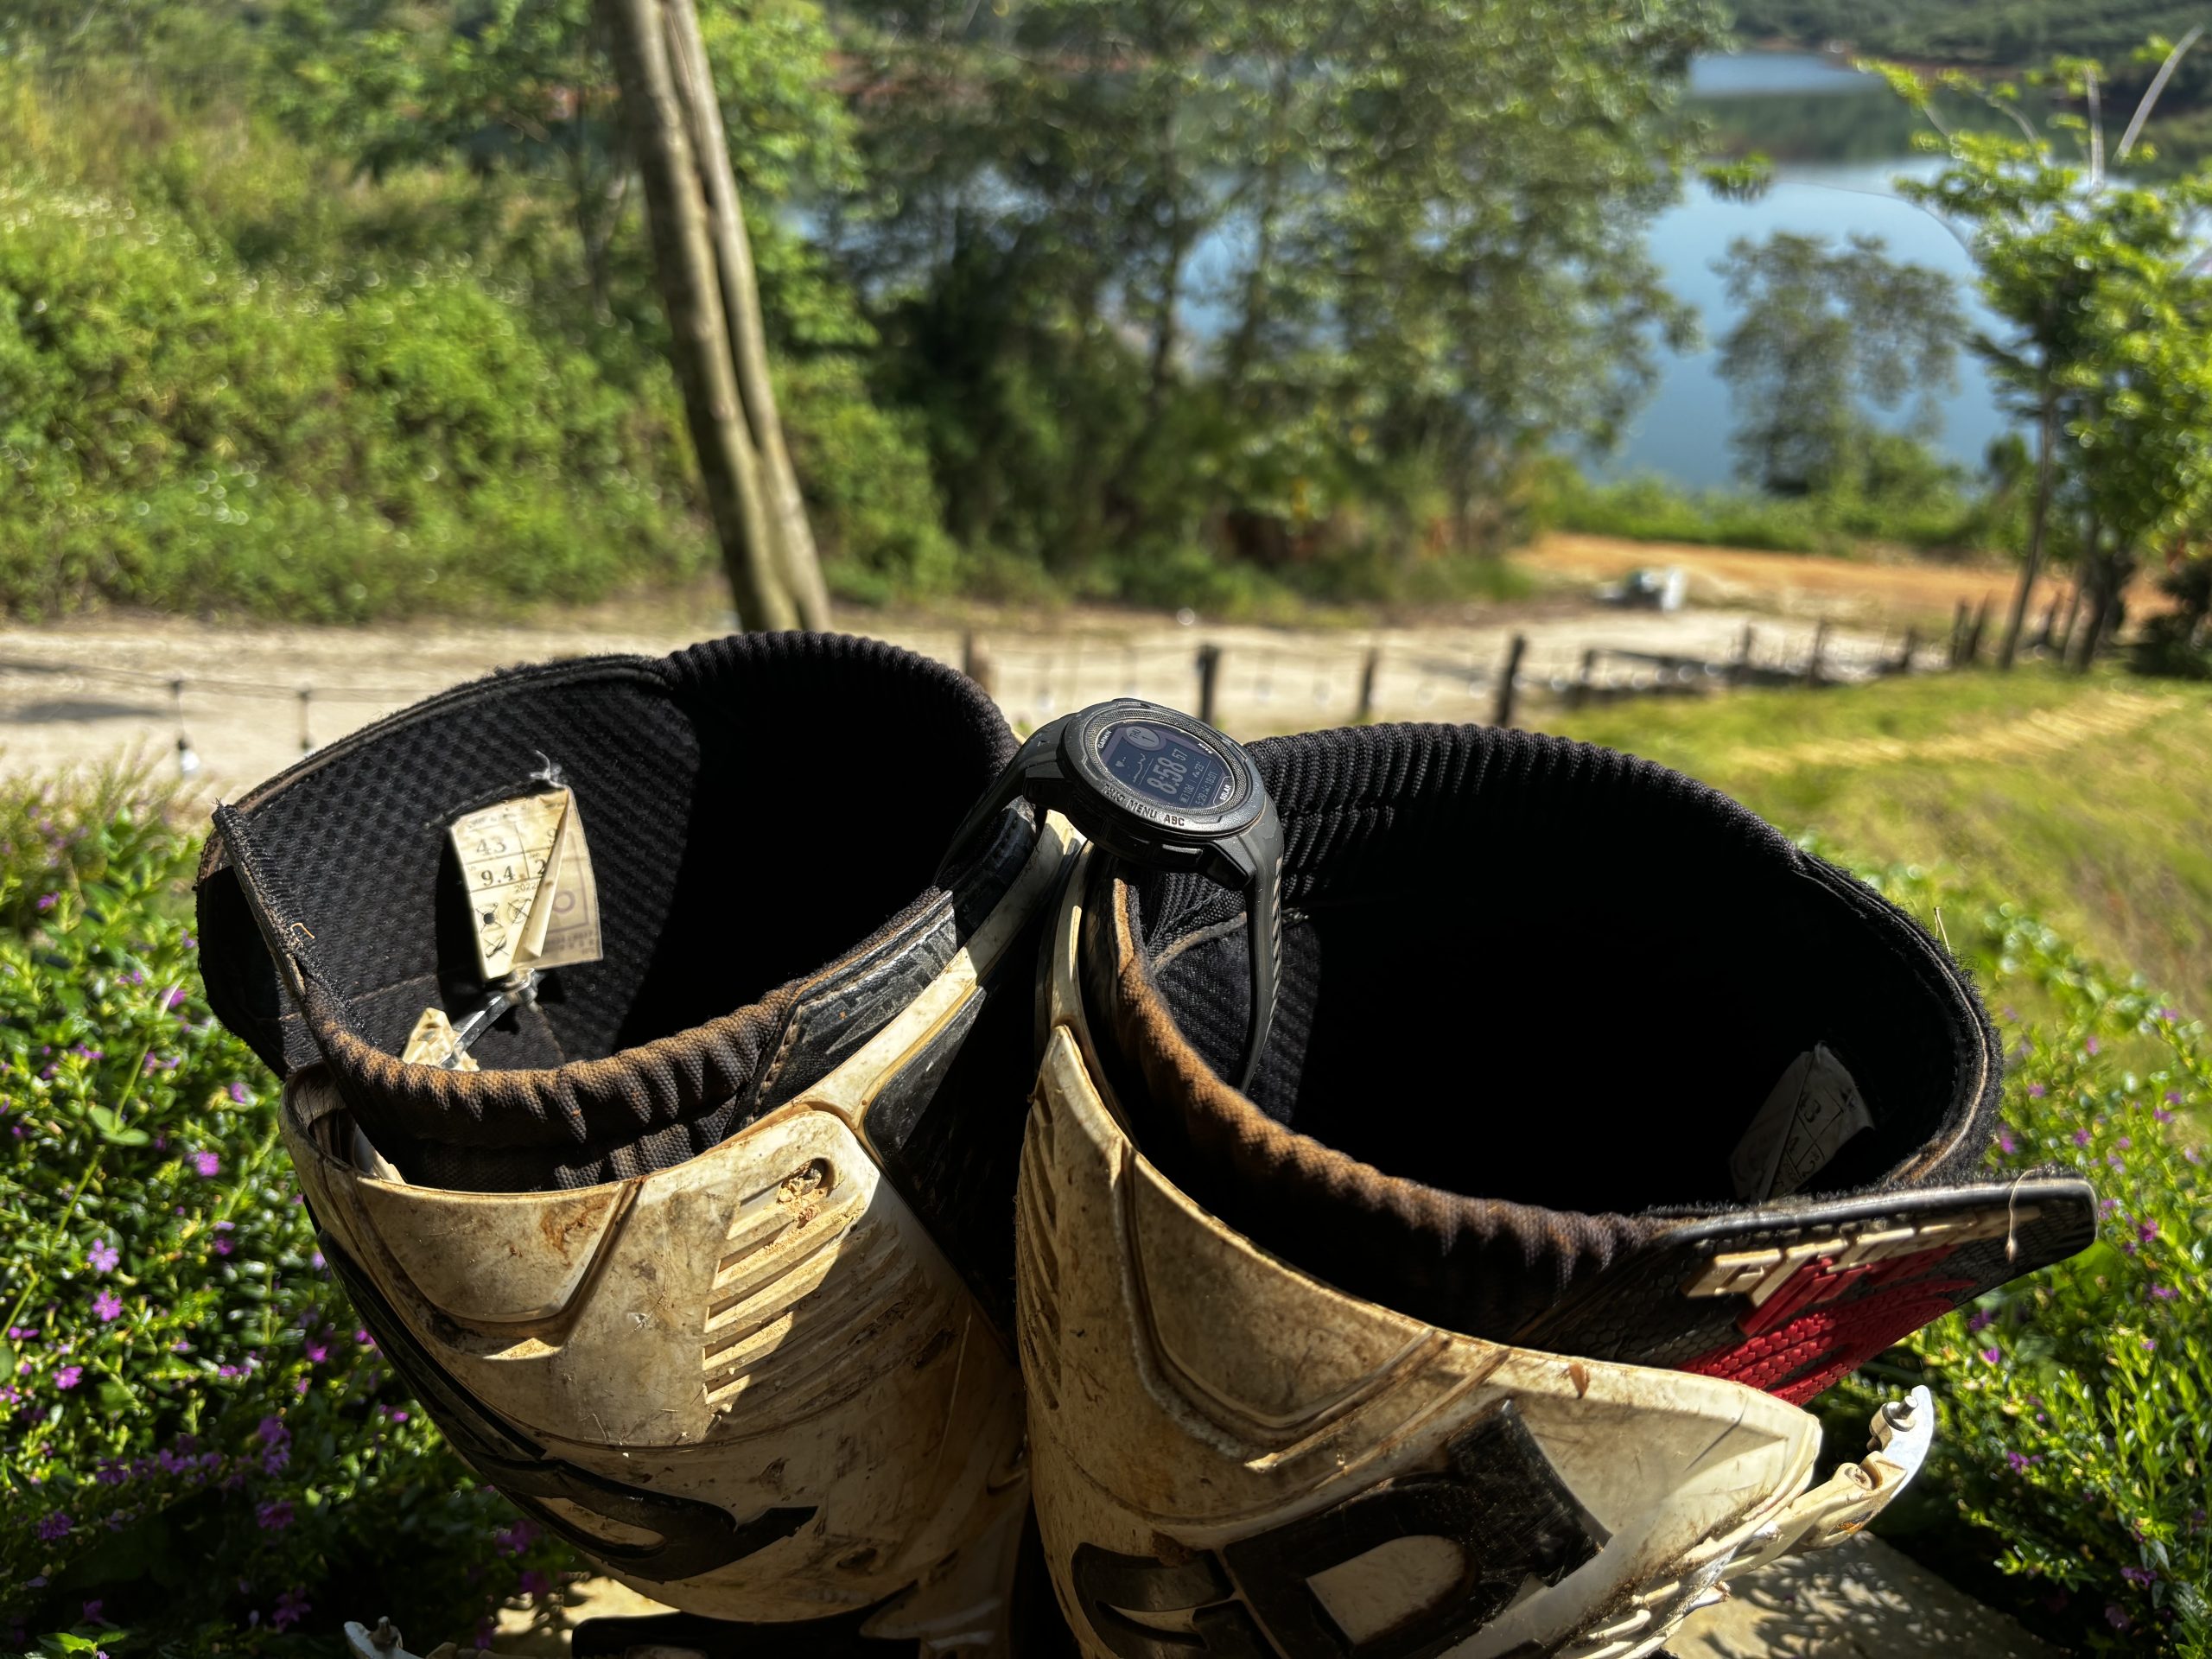
For this experiment we are using the Garmin Instinct 2S Solar which is with a 40mm watch face the smaller-sized version of the rugged Instinct series.
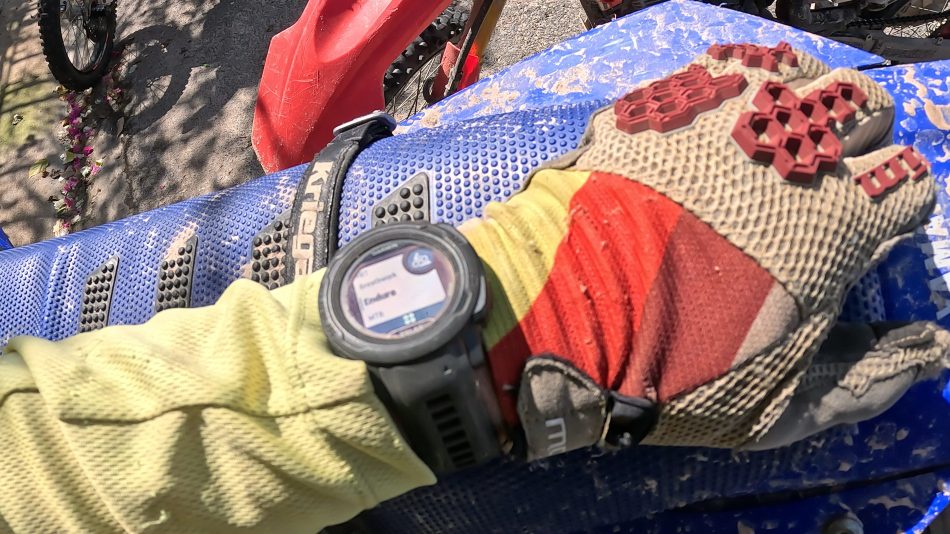
Table of Contents
- Features
- Recording a GPX track
- Save waypoints
- Using the smartwatch to navigate
- Battery life and solar charging
- Recommended settings
- Statistics and charts
- Conclusion
Features
- Recording a GPX track and review or download after the ride
- Save waypoints
- Using the watch to navigate
- Battery life and solar charging
- Recommended settings
- Statistics and charts
Recording a GPX track
Probably one of the most useful features to me is to record my GPS data during the ride. Pairing this info with additional data such as elevation, hear trate or other health or fitness related information comes secondary.
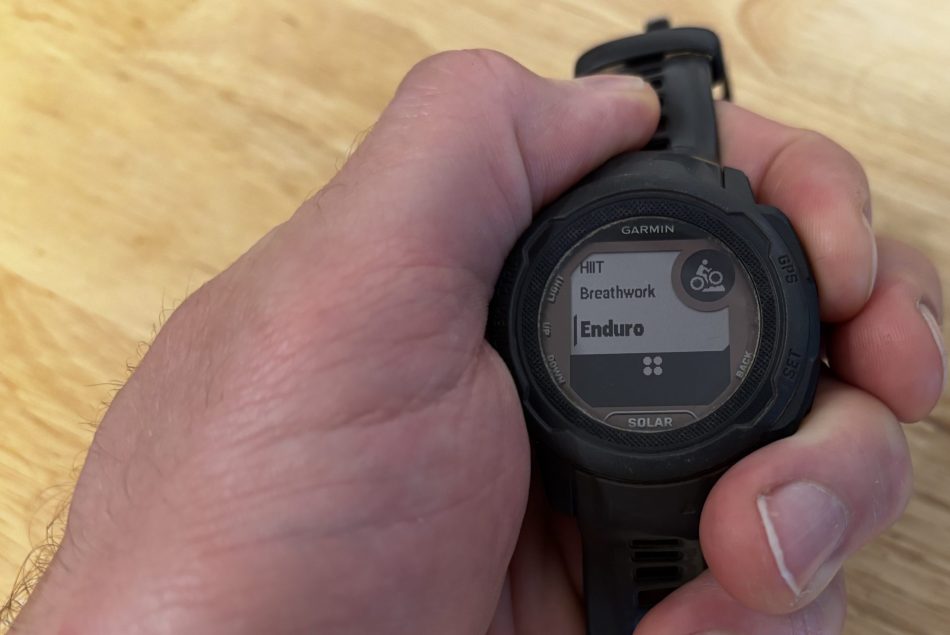
To start recording the activity simply press the GPS button on the top right and select the activity profile you want to use. Press the GPS button again to confirm the selection and a third time to start the activity.
After the ride you can review the track data either on the mobile Garmin Connect app, but I much prefer the browser version which also the only version where you can export the GPX data. Since my computer is where I manage and edit all my track data anyway, this comes in handy for me.
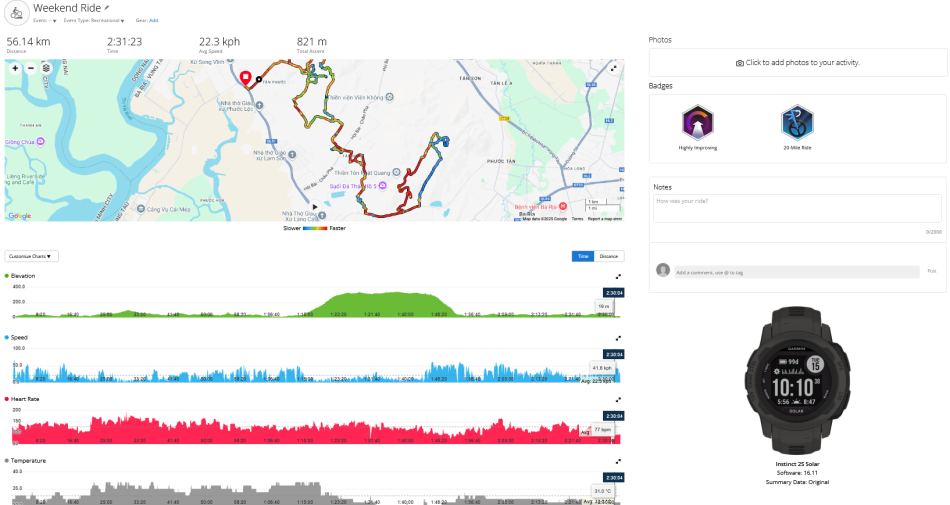
You can log into your Garmin account on https://connect.garmin.com, navigate on the left panel to Activities > All activities and select the activity you want to review. Below is sample data from our recent weekend ride that I recorded for the purpose of this article.
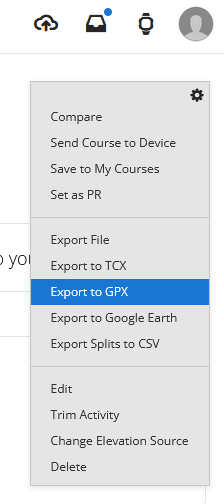
To export the track we can use the little gear symbol below our user profile and can choose from several exporting formats. The two most popular are GPX to use it further in Garmin related software such as Basecamp, QMapshack or directly on our Garmin GPS device, and KML for Google related apps such as Google Earth or Google MyMaps (I wrote another article about using Google tools to view and manage track data).
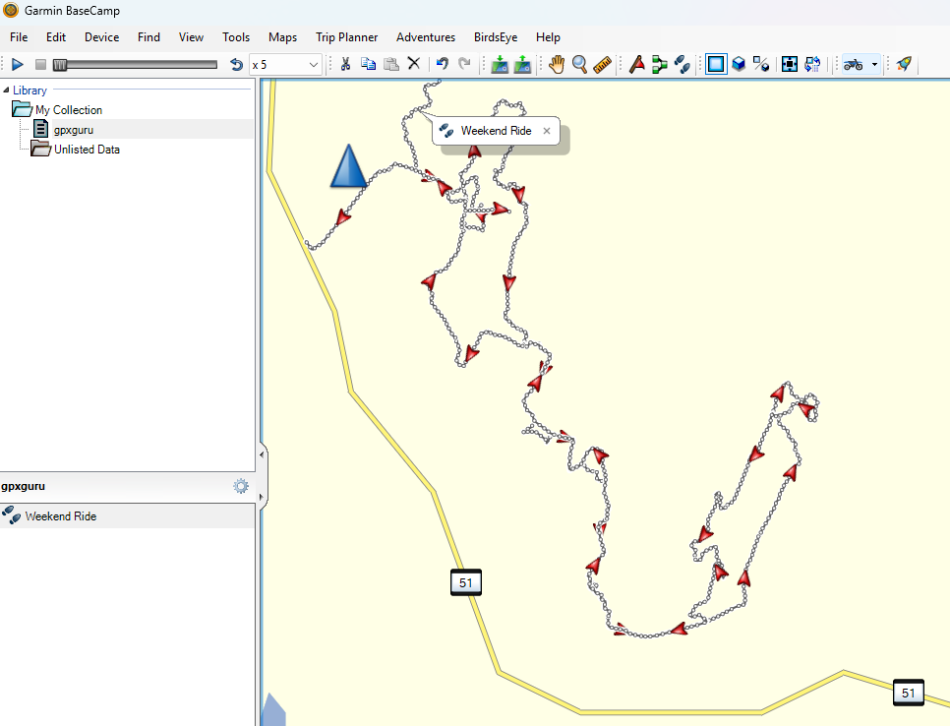
We can then open the exported GPX file in Garmin Basecamp to process the file further. For more tips on editing and viewing track files in Garmin Basecamp, check out the guide I wrote in this topic.
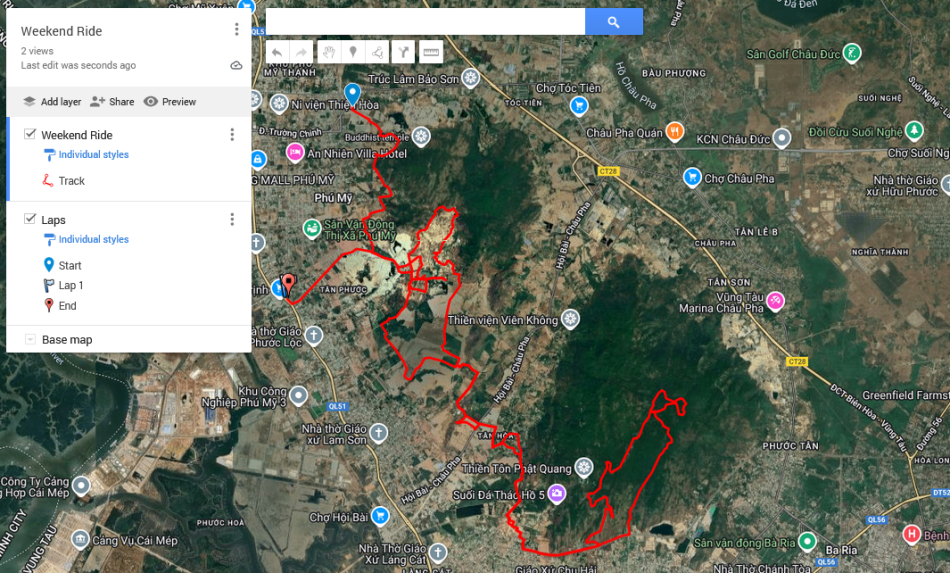
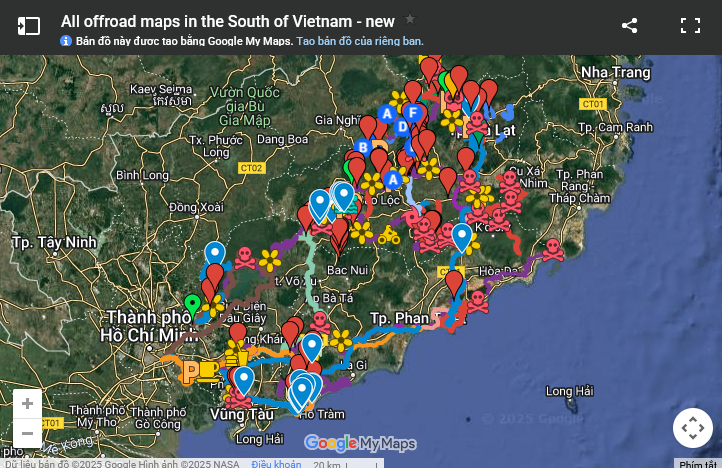
Or, if you want to view the track on a satellite image, use the exported KML file to open it in Google MyMaps as I did below.
Save waypoints
Sometimes when we are out on the trails we want to leave a short note at a given location to remind us later about something like a blocked trail, a particular difficult section, or a landmark that helps us for better orientation when viewing a track file. Therefore, it is useful to be able to save locations as waypoint with a timestamp and short note on the ride. On a Garmin GPS device this can be done with a few clicks and the on-screen keyboard can be used to write down a quick note. On the watch we can save/project a waypoint by clicking the GPS button and then navigate four times with the Down button to get to the waypoint selection and confirm once again with the GPS button. It will show the current coordinates and a timestamp and we can edit or add information in the waypoint title. However, writing on a smartwatch feels very time consuming, so we like to keep this kind of function on our bigger GPS device.
Using the smartwatch to navigate
The watch has a navigation mode, where you can show tracks and also ask to navigate to a saved waypoint. We found this feature not to be ideal for adventure riding since it is missing map information, the screen is too small and having it on the wrist makes it an awkward position to view while riding. This feature might be better suited for hiking and even then we think there are better GPS devices out there to be used for navigation. So this might be useful as a backup option if the main device fails.
Battery life and solar charging
Depending on the sun intensity for the solar charging the watch is described to offer the following battery life, the right number being under the sunniest condition with ideal sun exposure (50,000 lux).
Smartwatch mode (No GPS activity): 21 – 51 days
GPS Mode with solar: 22 – 28h
From my experience I got around 20 days of battery life when wearing the watch indoor without any sun exposure and around 20 – 24 hours in GPS mode with mixed solar activity. Is it worth it to get the solar version which costs more than the non-solar version? We think yes, given that you ride in sunny areas. When we tested the watch on a sunny day out riding in the smartwatch mode (no GPS location tracking), the watch showed an infinity sign instead of the battery symbol, indicating that this kind of solar activity could power the device indefinitely. But when using the GPS tracking features, you will be having to bring the charger for a multi-day ride.
Recommended settings
To set up our watch we open the Garmin Connect app on our phone, select the device on the top right of the screen and head to Activities & Apps. We scroll all the way down and select “Add” to add a new activity and choose one of the available activities e.g. MTB (can be renamed later).
When opening page for this activity we can setup the following settings:
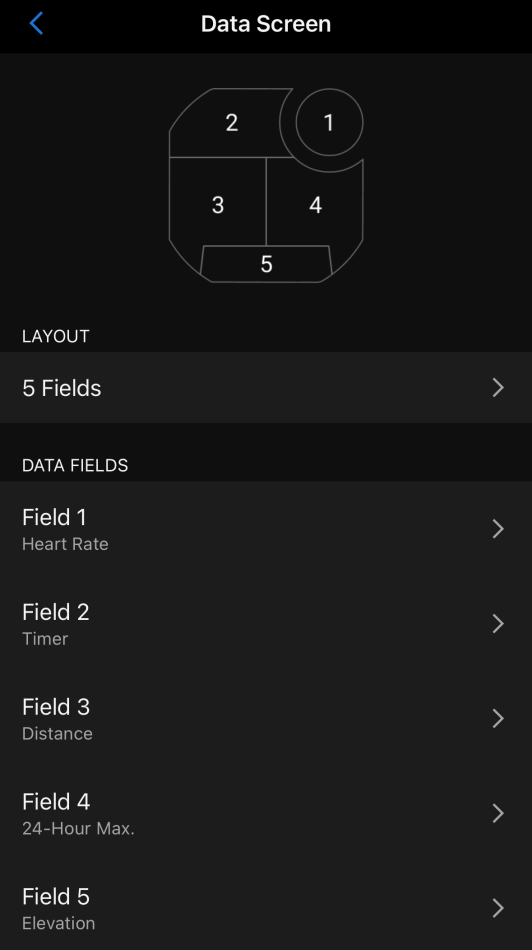
Data Screens – Setup the information to show on the watch face during the activity. This is pure preference, here’s an example.
Alerts – You can define alerts for heart rate, speed, time, distance or elevation. You could for example create an alert for heart rate zone 2 so you will be notified once you reach this stadium. Personally, I don’t use any alerts.
Auto Laps – I like to turn this feature off, as on a tour I am not riding any laps.
Auto Pause – This is a useful feature in my opinion because it will pause recording every time no movement is detected. This will save battery. I use the setting “When Stopped”.
Satellites – I recommend GPS + GLONASS for the best performance
Record Temperature – I find this useful as temperatures can play a major role when riding in either hot or cold climate, so I turn this on.
Statistics and charts
Now we get to the interesting part, we get to see the data we recorded on our ride. The coolest thing about tracking your ride with a Garmin watch is probably the overlay of several data records, such as elevation, speed, time, heart rate and temperature and you can follow through the track with your curser to see how the data changes. For example, below I can see when we started climbing the steep hill and that going up the hill was much slower than going down. Also, I can see how rapidly the temperature changed when we reached higher elevation. My heart rate was mostly linked to the temperature as well, since the extreme heat was the biggest challenge on this ride. Below I point out what information and benefit I take from this data.
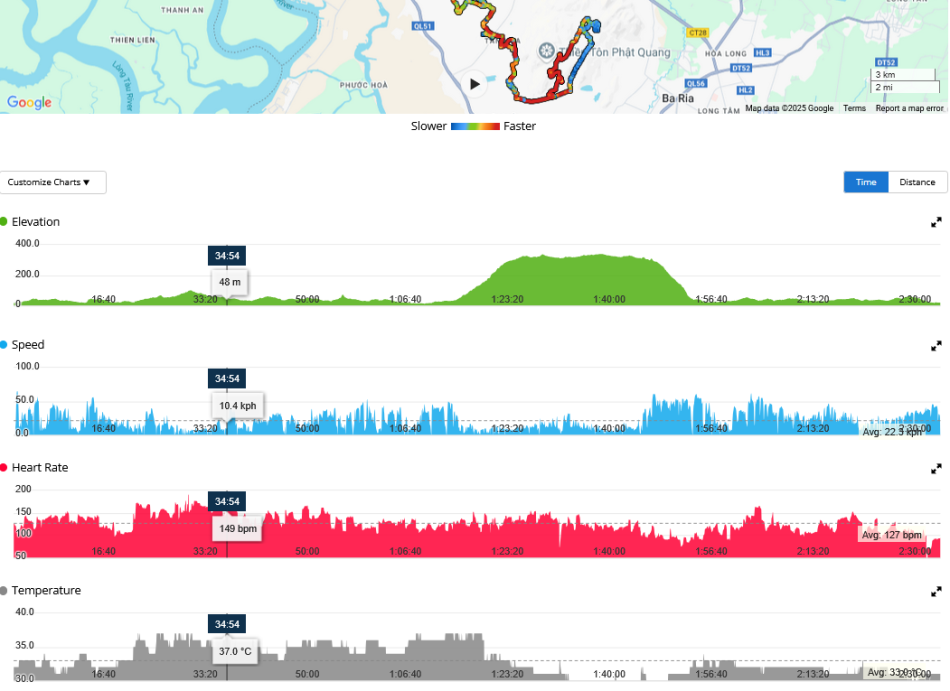
Elevation – It can provide insights into how your body responds to altitude changes, allowing you to better manage your training and recovery.
Speed – Allows you to monitor the speed you maintained during your ride.
Time – Simply shows the time it took you to complete the ride.
Heart Rate – It can help you understand your body’s response to exercise, track your progress, and potentially optimize your training for performance.
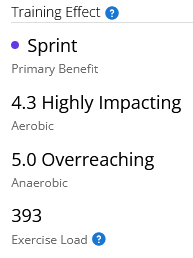
Training Effect – whether aerobic or anaerobic, measures the impact of an activity on your fitness, specifically aerobic and anaerobic fitness. It accumulates during the activity, showing how much your fitness has improved. The Training Effect value increases as the activity progresses, indicating the overall effect on your fitness. Our recent ride was very demanding so we scored very high in both aerobic and anaerobic training effect. This might give you an idea how much the ride has stressed your body and how well you coped with this stress.
Estimated Sweat Loss – Hydration is one of the most important factors to consider on a ride, especially in hot climates. So monitoring your fluid loss by sweating is crucial. However, I found this estimation to be far from correct. On this day I drank three full water bladders each holding 2 liters, which totals at around 6 liters of fluid, not even considering extra drinks at a rest stop. Since I only had to pee once in the beginning I estimate my sweat loss at around 5-6 liters on that day, more than double of Garmin’s estimate.
Calories Burned – Interesting if you are tracking your calories.
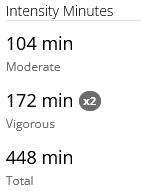
Exercise Intensity – Similar to the training effect, it can help to understand fitness habits and track progress towards recommended activity levels. Vigorous intensity minutes are counted twice (x2) to reflect the larger benefit they have on your body compared to moderate intensity.
Sleep Tracking – Besides hydration, rest is another crucial factor for recovering from a demanding ride. By tracking our sleep and trying to improve our sleep intervals we can improve our recovery and boost our performance on the next ride. Therefore, this is one of the most important features on the Garmin watch in my opinion. We can learn about our sleep duration, consistency and overall sleep quality.
Conclusion
Is a Garmin watch a must-have to bring on every adventure ride? No, there are other items I would rank with much higher importance than a smartwatch. I will keep using my main GPS device to record track data, save waypoints and navigate the trails. However, I use the Garmin watch to track my fitness levels and my sleep quality and find it therefore a worthy companion I like to take with me whenever I get physically active.
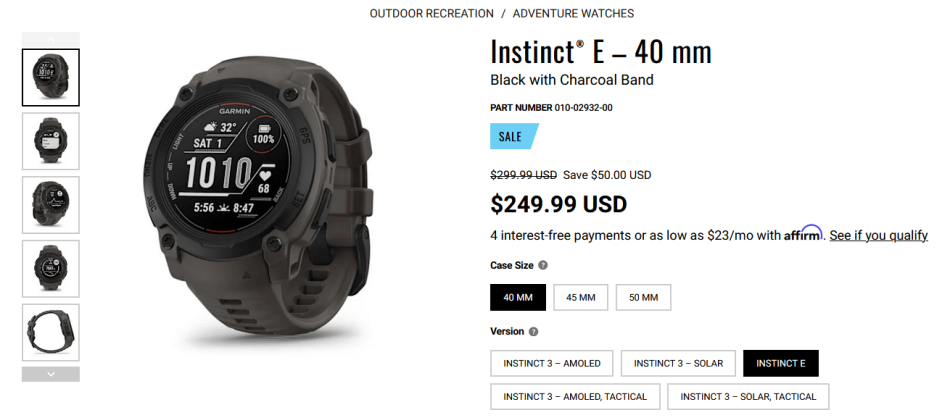
Want to check out the latest offers from Garmin? The new Instinct 3 line is currently on sale.


One Comment